Hand made molds:
2 different types of molds - one of plasticine clay and the rest using silicone caulking.
Materials for the panels:
Art Resin, Apoxie Sculpt, pigment colors for resin, mica, pigment Posca pen.








Hand made molds:
2 different types of molds - one of plasticine clay and the rest using silicone caulking.
Materials for the panels:
Art Resin, Apoxie Sculpt, pigment colors for resin, mica, pigment Posca pen.
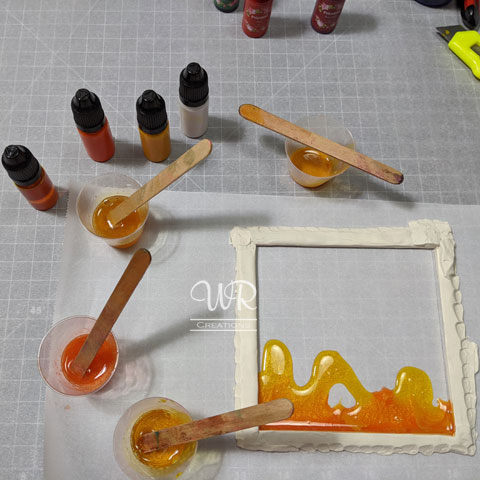
First layer of resin for each panel. Allowed to cure, and left in the molds for steps 2 and 3.
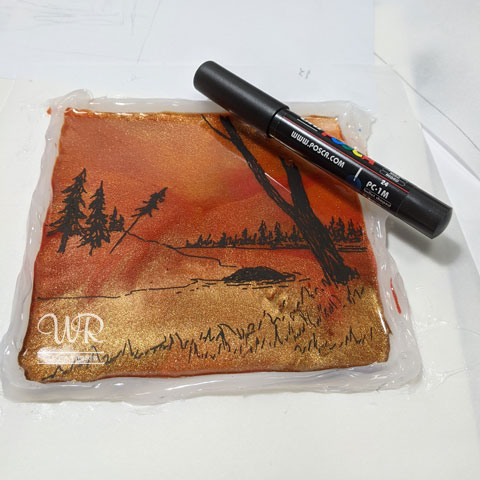
Create the sketch using a black Posca pigment pen. Each panel has a hand drawn scene.
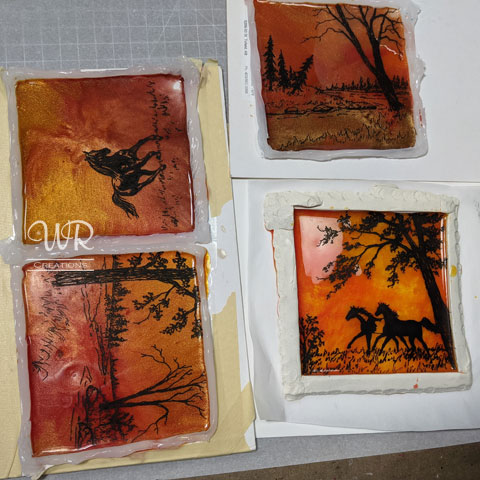
Top coat of clear ArtResin. Once cured, demold, clean edges and assemble.
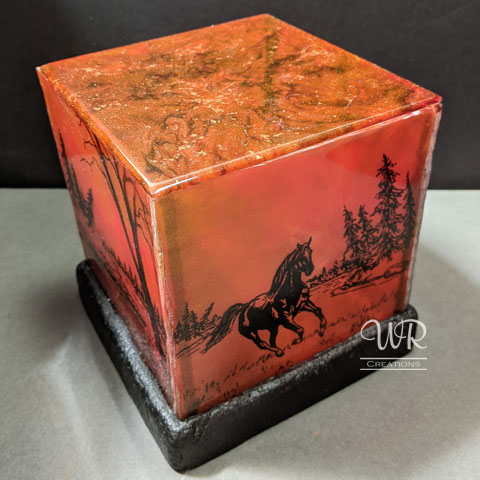
Assembled and ready for Apoxie Sculpt detailing.
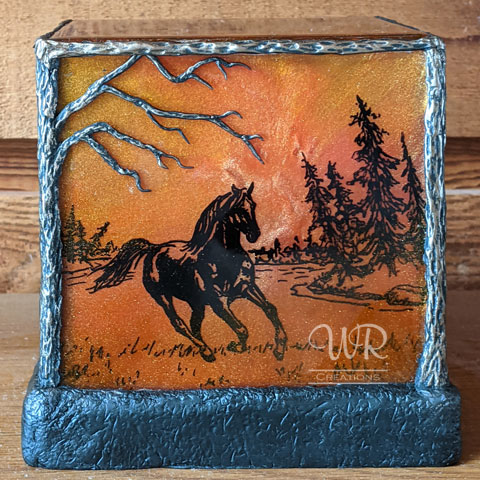
Completed, adding a bit of depth with tree and base details of Apoxie Sculpt.
Hand made molds:
2 different types of molds - one of plasticine clay and the rest using silicone caulking.
Materials for the panels:
Art Resin, Apoxie Sculpt, pigment colors for resin, mica, pigment Posca pen.

First layer of resin for each panel. Allowed to cure, and left in the molds for steps 2 and 3.

Create the sketch using a black Posca pigment pen. Each panel has a hand drawn scene.

Top coat of clear ArtResin. Once cured, demold, clean edges and assemble.

Assembled and ready for Apoxie Sculpt detailing.

Completed, adding a bit of depth with tree and base details of Apoxie Sculpt.
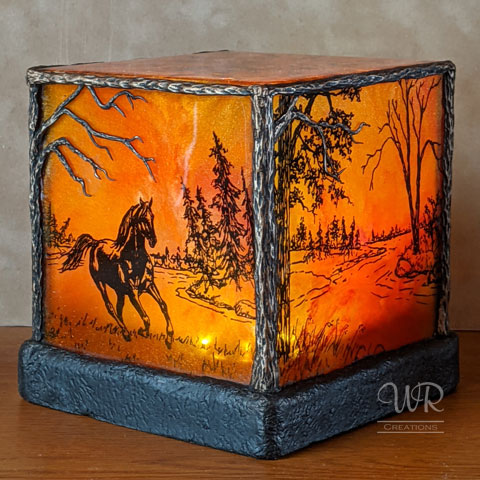
Once assembled, Apoxie Sculpt was used to cover the edges and base, adding some depth with tree details. The Apoxie Sculpt was highlighted with mica. The bottom was left open to accommodate the remote controlled LED puck light.

Completed, with LED remote controlled puck light.
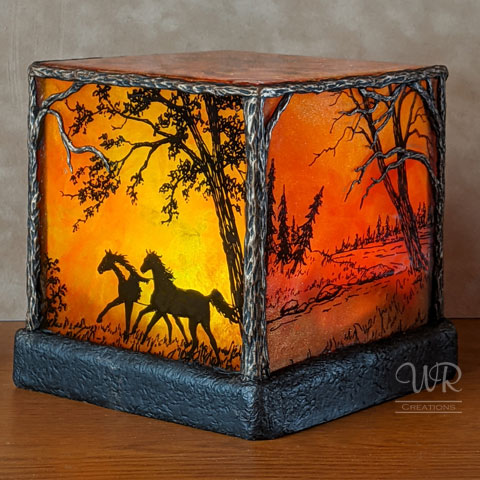
Completed, with LED remote controlled puck light.

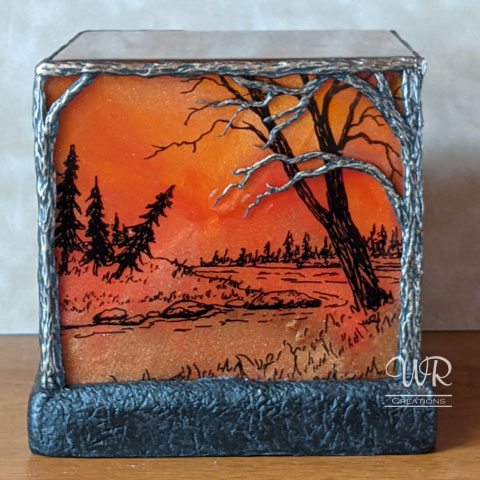
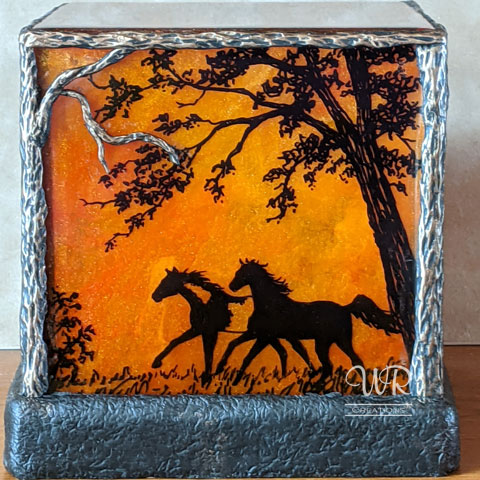
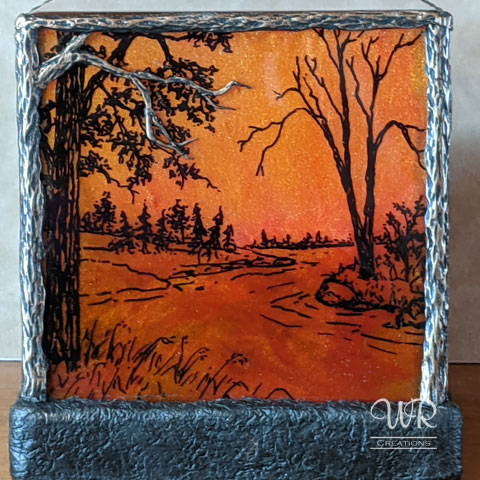
Once assembled, Apoxie Sculpt was used to cover the edges and base, adding some depth with tree details. The Apoxie Sculpt was highlighted with mica. The bottom was left open to accommodate the remote controlled LED puck light.

Completed, with LED remote controlled puck light.

Completed, with LED remote controlled puck light.


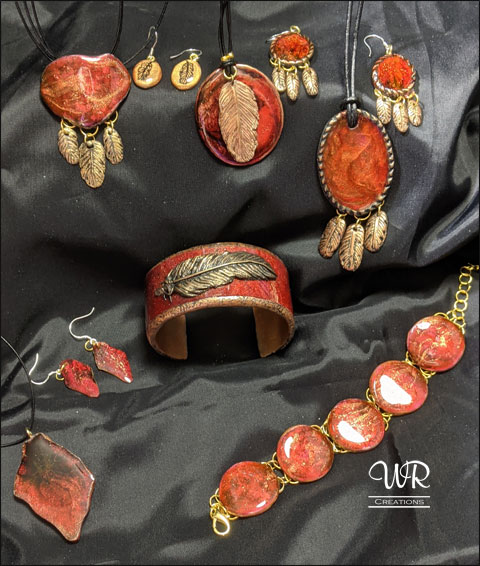
Materials:
Art Resin, Apoxie Sculpt, pigment colors for resin, mica, pigment Posca pen.
Methods:
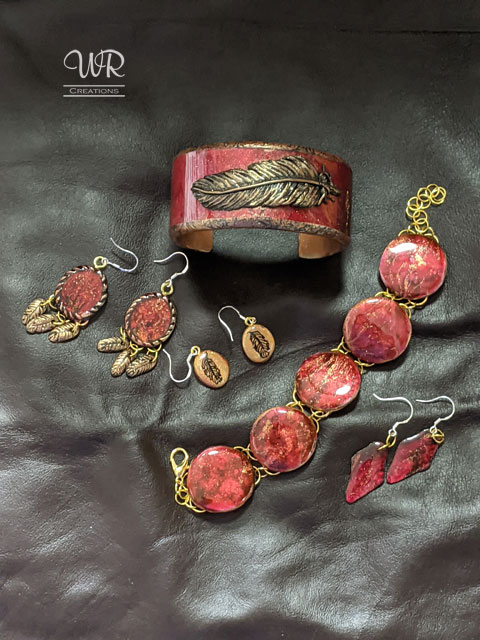
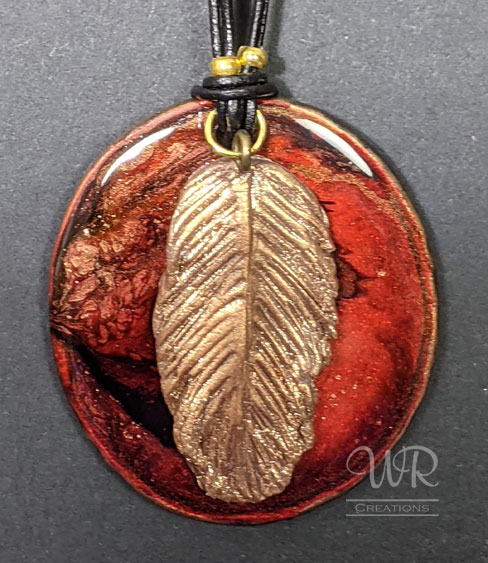
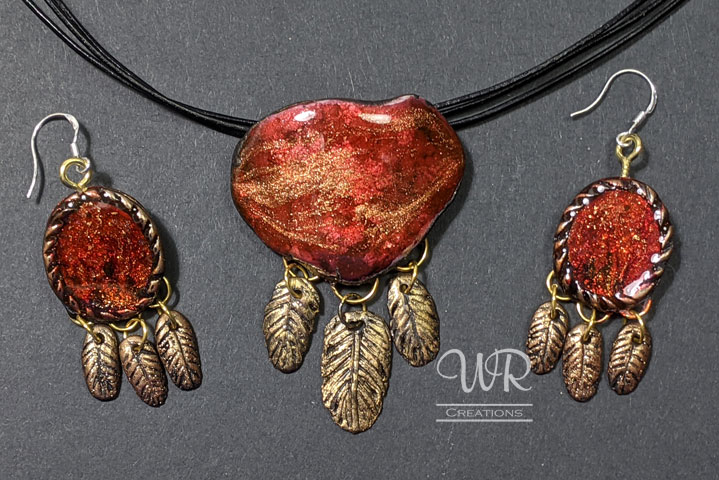
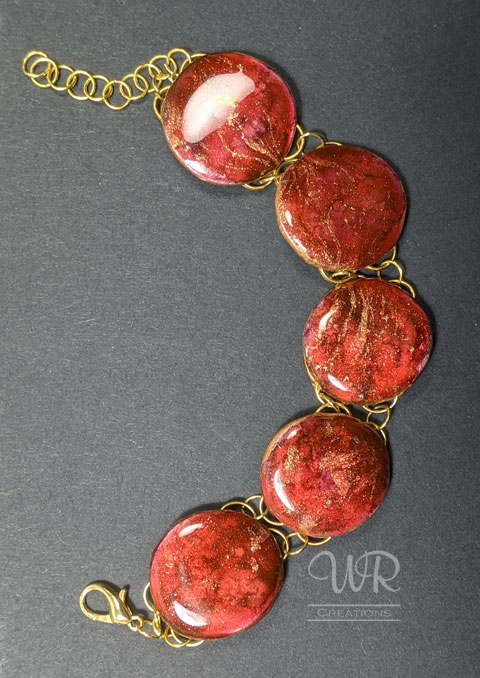
Several methods were used - resin "skins", hand made free form mold pours, and clay discs dipped into resin pours.
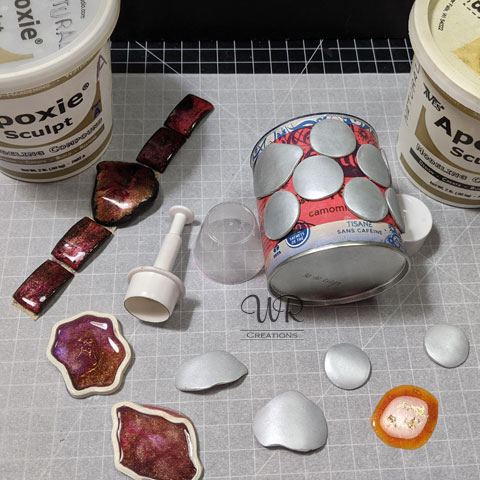
Free form molds were made with plasticine clay for some of the pendants. Circles of Apoxie Sculpt were shaped for a bracelet and pendant.
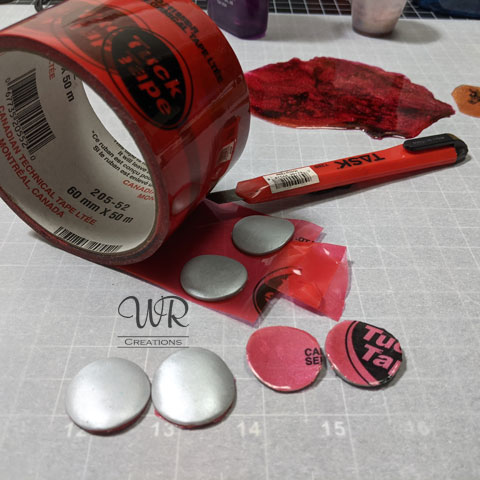
Apoxie Sculpt circles were prepped to be dipped in a resin pour.
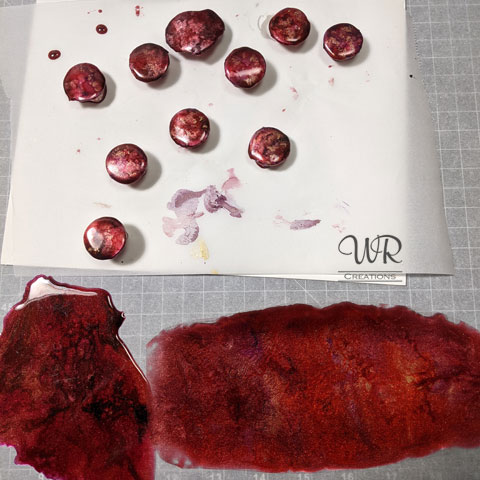
Resin "skins" ready to be trimmed for a cuff bracelet and pendants. Apoxie Sculpt discs after being dipped in the resin pour.
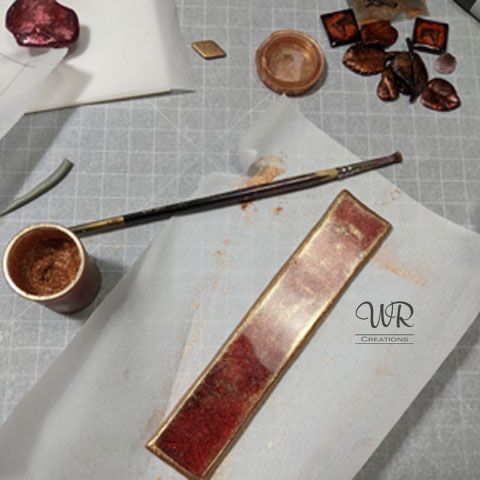
Resin "skin" applied to Apoxie Sculpt clay then placed on a mandrel to cure.
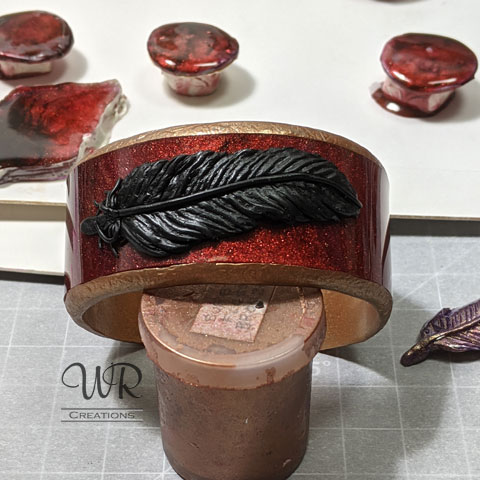
Ready for mica highlights.
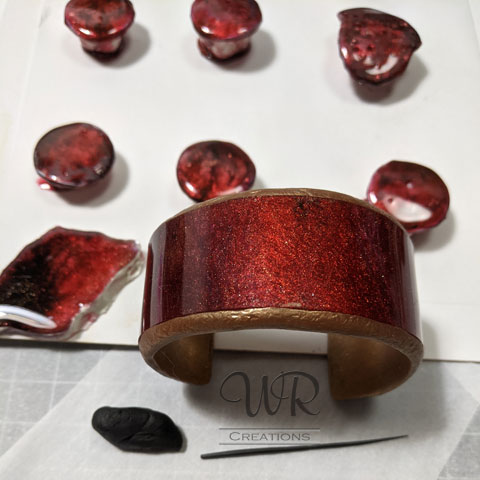
Ready for finishing touches.
Materials:
Art Resin, Apoxie Sculpt, pigment colors for resin, mica, pigment Posca pen.
Methods:
Several methods were used - resin "skins", hand made free form mold pours, and clay discs dipped into resin pours.

Free form molds were made with plasticine clay for some of the pendants. Circles of Apoxie Sculpt were shaped for a bracelet and pendant.

Apoxie Sculpt circles were prepped to be dipped in a resin pour.

Resin "skins" ready to be trimmed for a cuff bracelet and pendants. Apoxie Sculpt discs after being dipped in the resin pour.

Resin "skin" applied to Apoxie Sculpt clay then placed on a mandrel to cure.

Ready for finishing touches.

Ready for mica highlights.




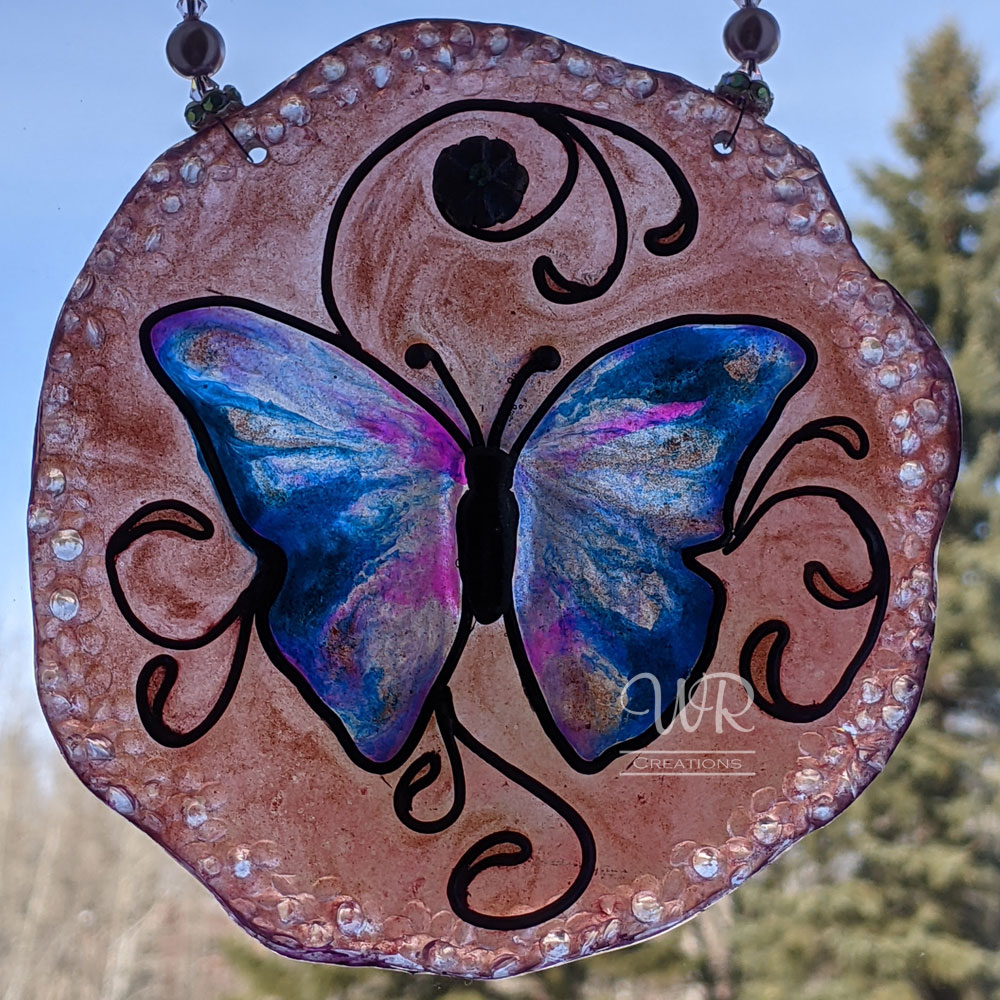
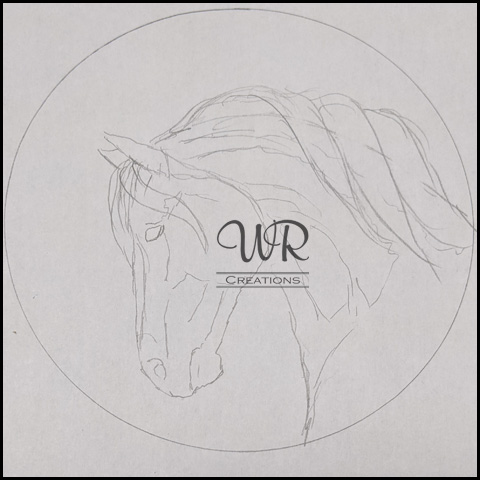
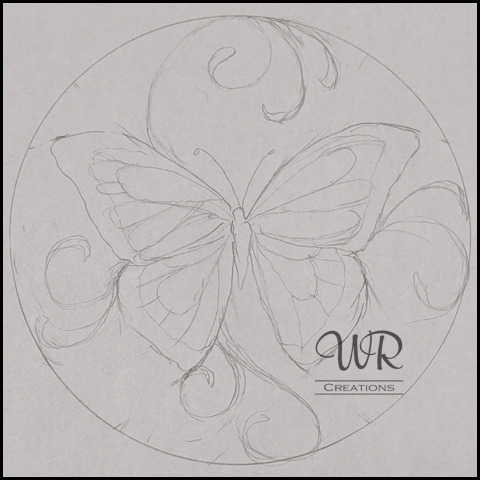

One mold was created with silicone caulking and the other with plasticine modeling clay.

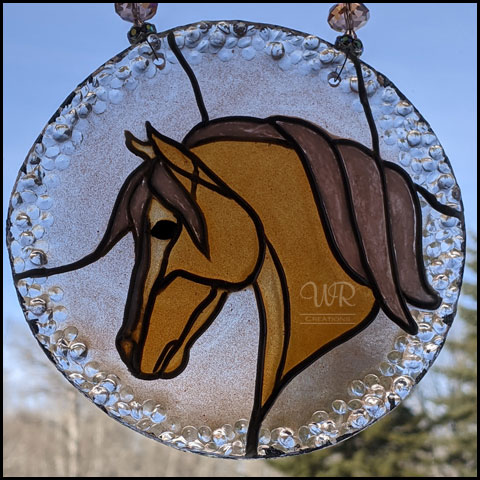
Acrylic diamonds were placed around the edges during the first resin pour. The resin contained a small amount of mica, just to give it some glitter.
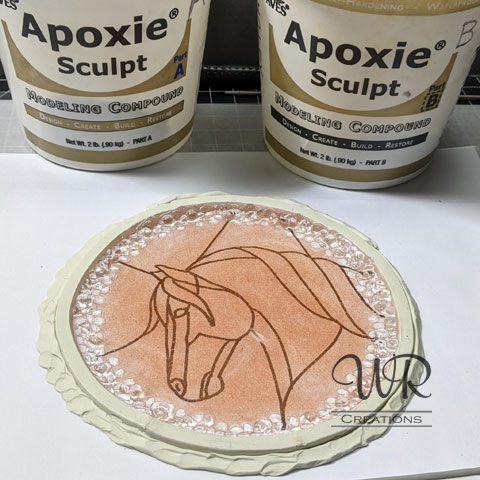
Once the resin cured, Apoxie Sculpt was used to outline the images, giving them a stained glass effect.
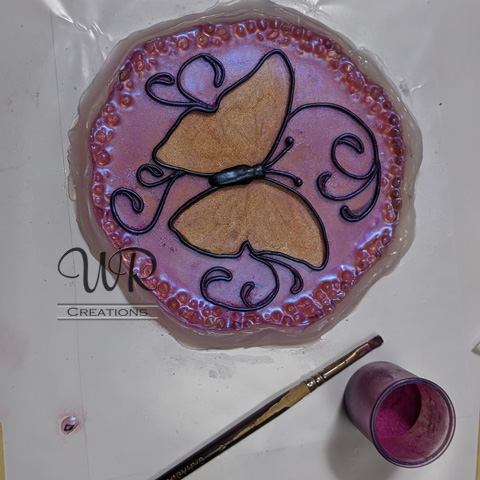
Mica powder was added to the background of the butterfly.
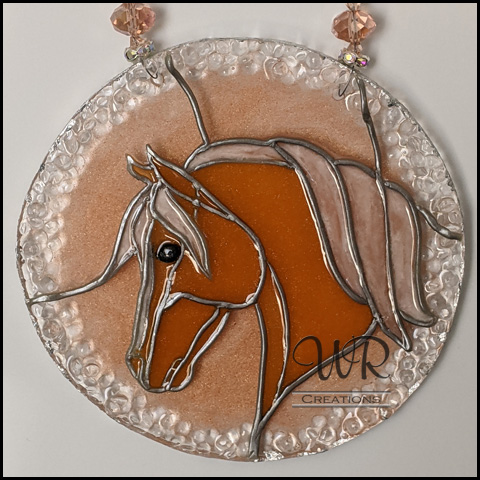
Tinted resin was then added to the horse head and clear resin to the background.
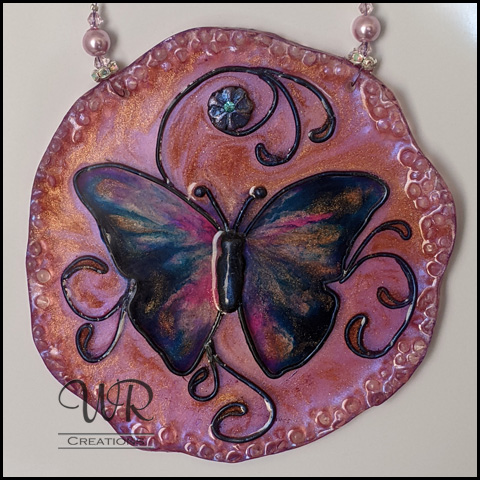
Tinted resin was then added to the butterfly and clear resin to the background.


One mold was created with silicone caulking and the other with plasticine modeling clay.

Acrylic diamonds were placed around the edges during the first resin pour. The resin contained a small amount of mica, just to give it some glitter.

Once the resin cured, Apoxie Sculpt was used to outline the images, giving them a stained glass effect.

Mica powder was added to the background of the butterfly.

Tinted resin was then added to the horse head and clear resin to the background.

Tinted resin was then added to the butterfly and clear resin to the background.